Ever
since I was a kid i've been infatuated with anything that flies, this
includes rockets! I used to get the store models, build them and have
to go buy engines and everything else. I recently have been looking for
a cheaper/diy method, and stumbled upon James Yawns rocket page!!
I
was overwhelmed at the amount of info on how to do virtually everything
rocket yourself, from bodys, nose cones, ignitors, propellant,
nozzles,, everything!!! and it was moderately cheaper than store brand,
although no where near as good of quality! lol
Anyways
2 years ago I decided to try this diy rocketry for myself, although I
made a goal to get done by thanksgiving, it failed! I blame that
failure on lack of access to materials! I couldnt find any bentonite
clay, or substitute, I also couldnt find any potassium nitrate, or
substitute! Only this last week was I able to bring together 2 years of
reserarch into finding materials, then I finally started to actually
make and complete a rocket totally from scratch (minus testing, thats
what the next post is!!!)
And make sure to watch the video at the bottom!
And make sure to watch the video at the bottom!
 |
| the group making rockets! |
 |
| Drew trying out a nose cone |
 |
| My rocket body with nose cone! |
 |
| the work table |
 |
| Testing if the nose cone ejects properly! |
 |
 |
 |
For just about everything, we used old
(recycled) posterboard from flyers for my high school picnic! They are
11 by 18inch, perfect size for engines and tubes cut long way!! We used
dowels and spray stick for the bodies, the engines we used a smaller
dowel and dilluted wood glue. For the fins some of us used balsa wood
left over from my model airplane, while others just used more
posterboard stacked to make it sturdier. the fins were epoxied on to
the bodies.
 |
| rockets are starting to come together |
 |
| so far the rockets are coming together |
 |
| we are gluing the fins on here and finishing the body. we thought about painting them but didnt have any time |
 |
| we made the parachutes out of plastic bag and string! we cut the bag into circles and tied 4 strings to them |
After we finished the parachutes, we
tested them out outside on our deck by dropping them off and seeing if
they break! You can see this in the video below!
Its propellant time!
 |
| And now the fun stuff,, making the propellant!! |
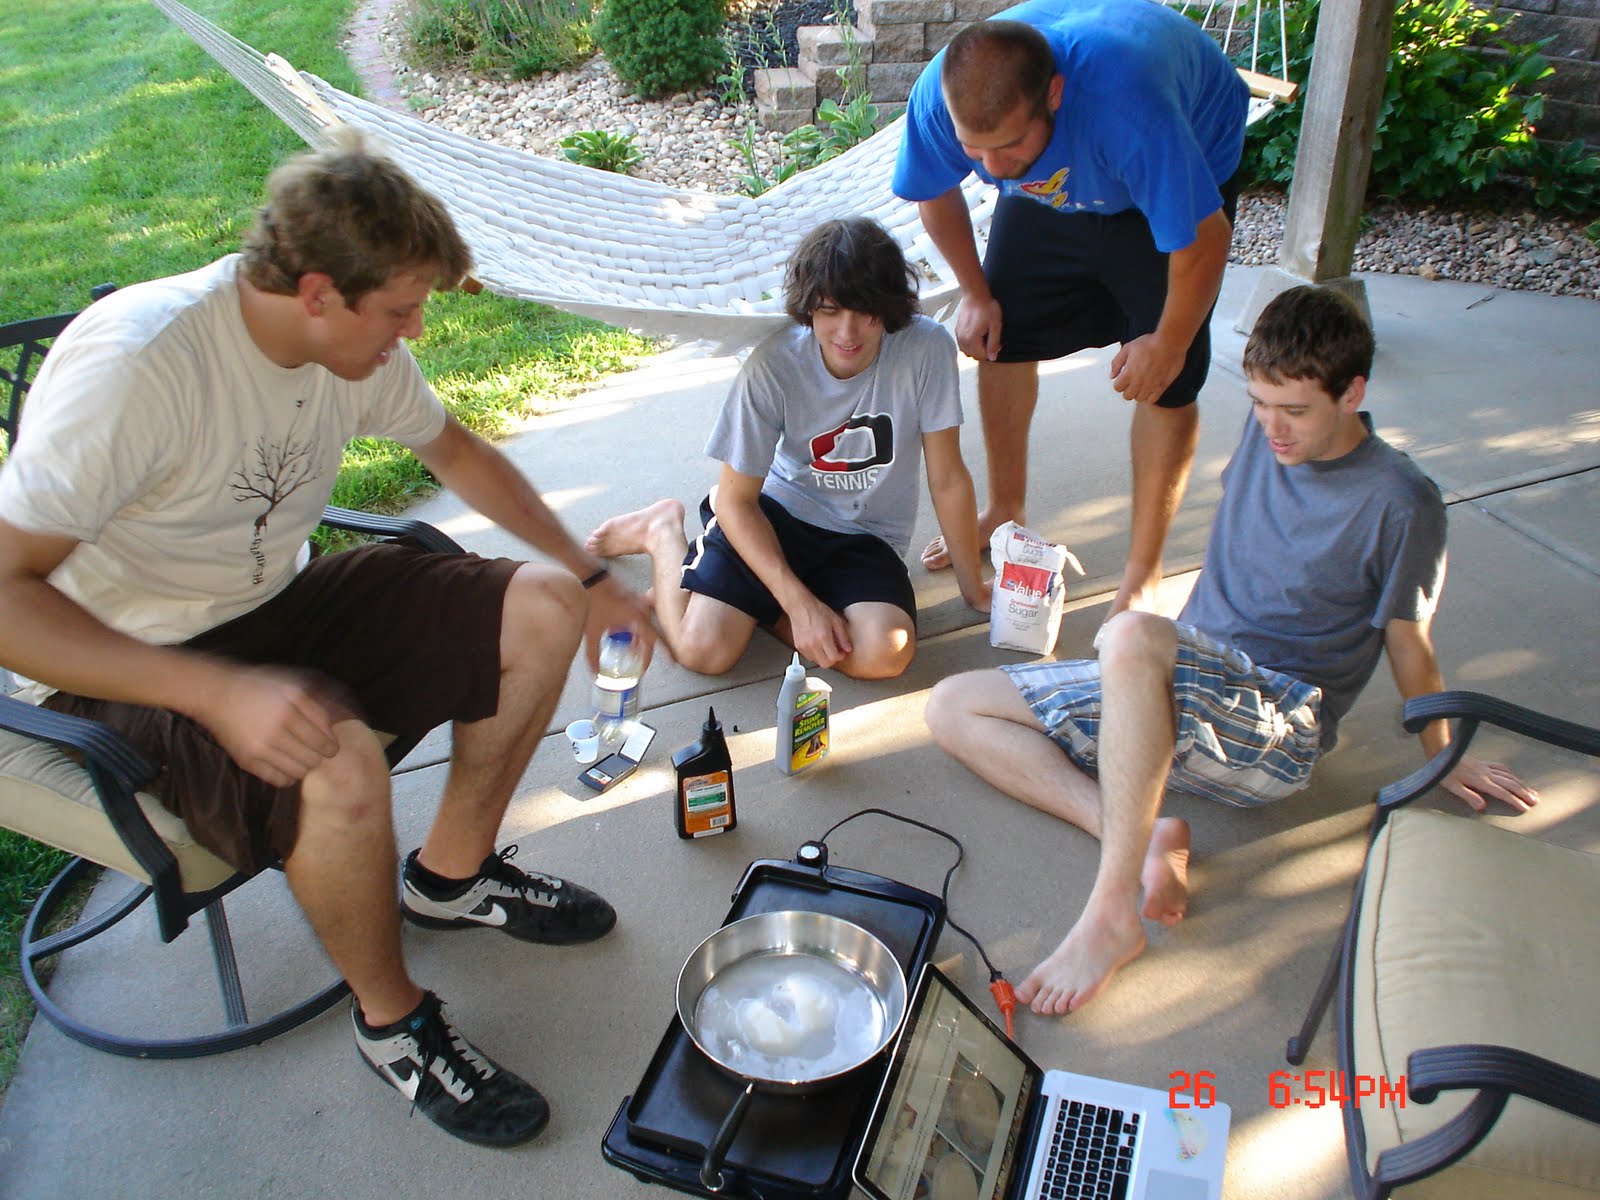 |
| we all stare at the ingredients wondering how to make it |
 |
| starting to form |
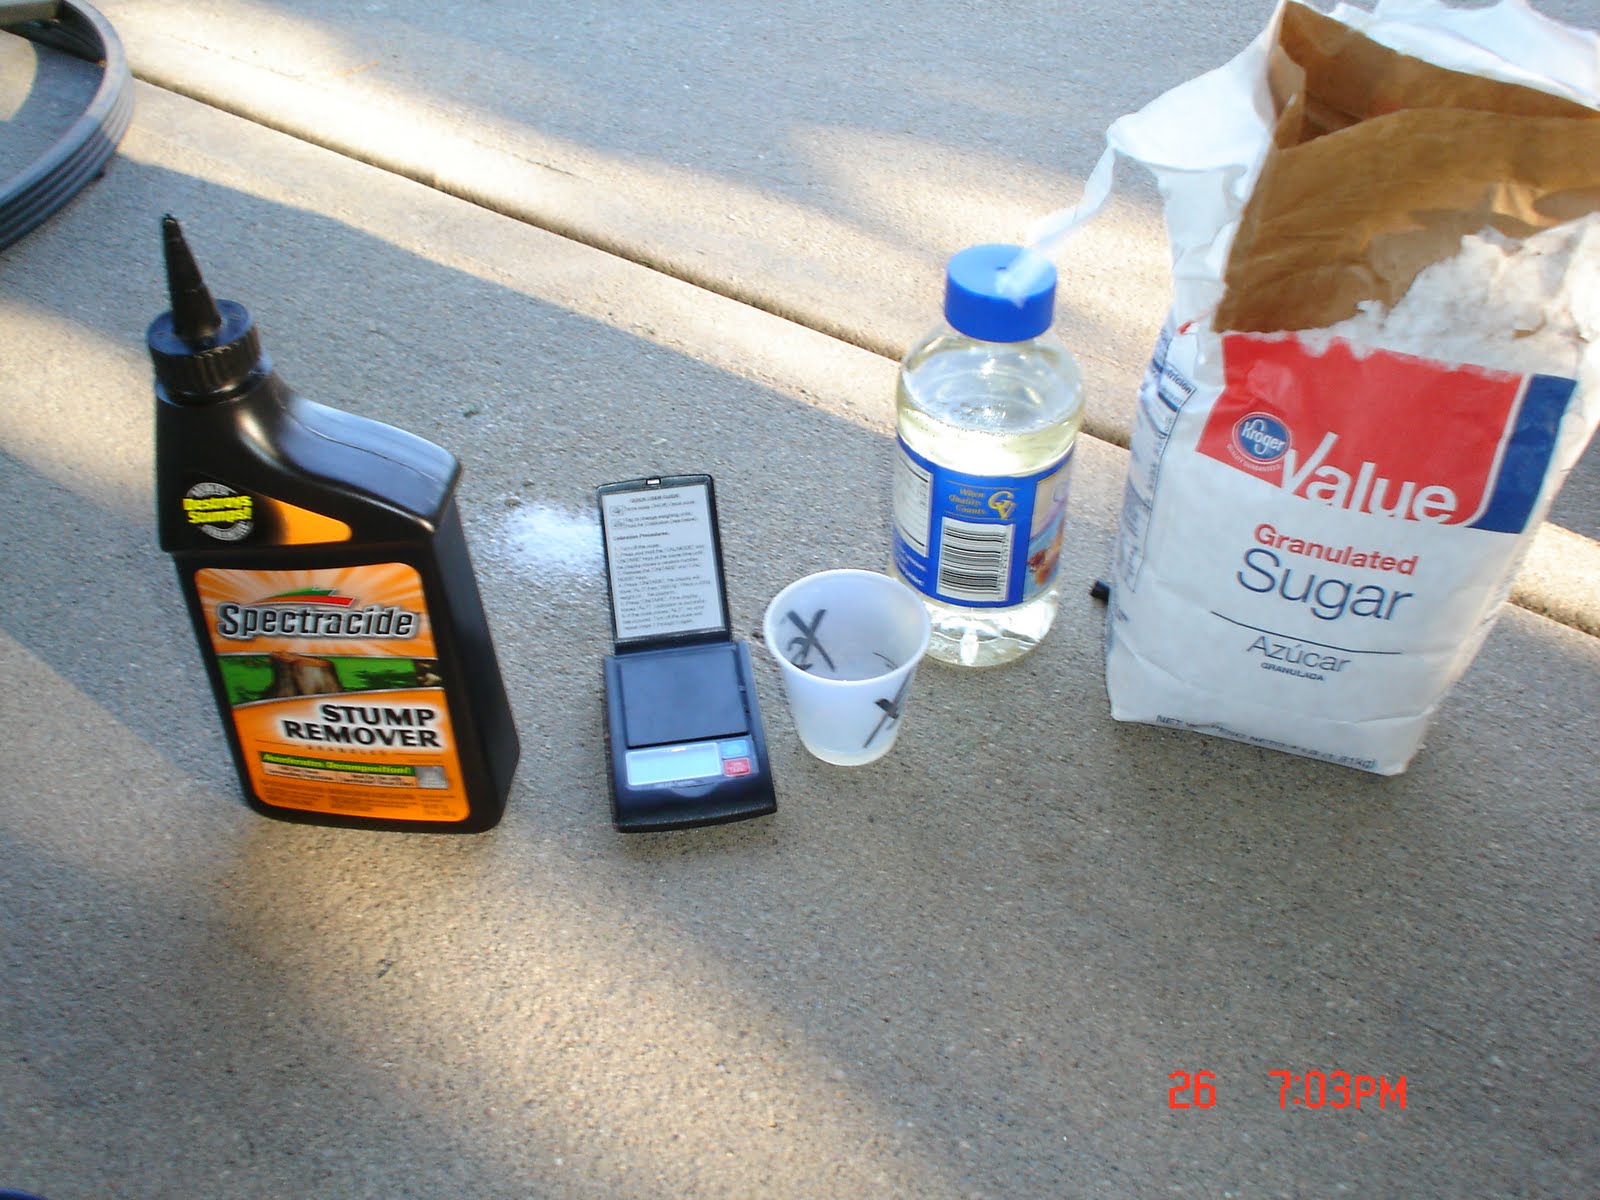 |
| our ingredients..... |
The Stump remover is pure KNO3 and
although its granular, it is pure enough to make fairly high quality
propellant and since it dissolves in water, it doesnt matter what "form"
its in The scale is nice, Although someone spilled corn syrup all over
it so i have to get a new one, the sugar was $1!!
 |
| Dinner break |
 |
| stiring and waiting for the propellant. |
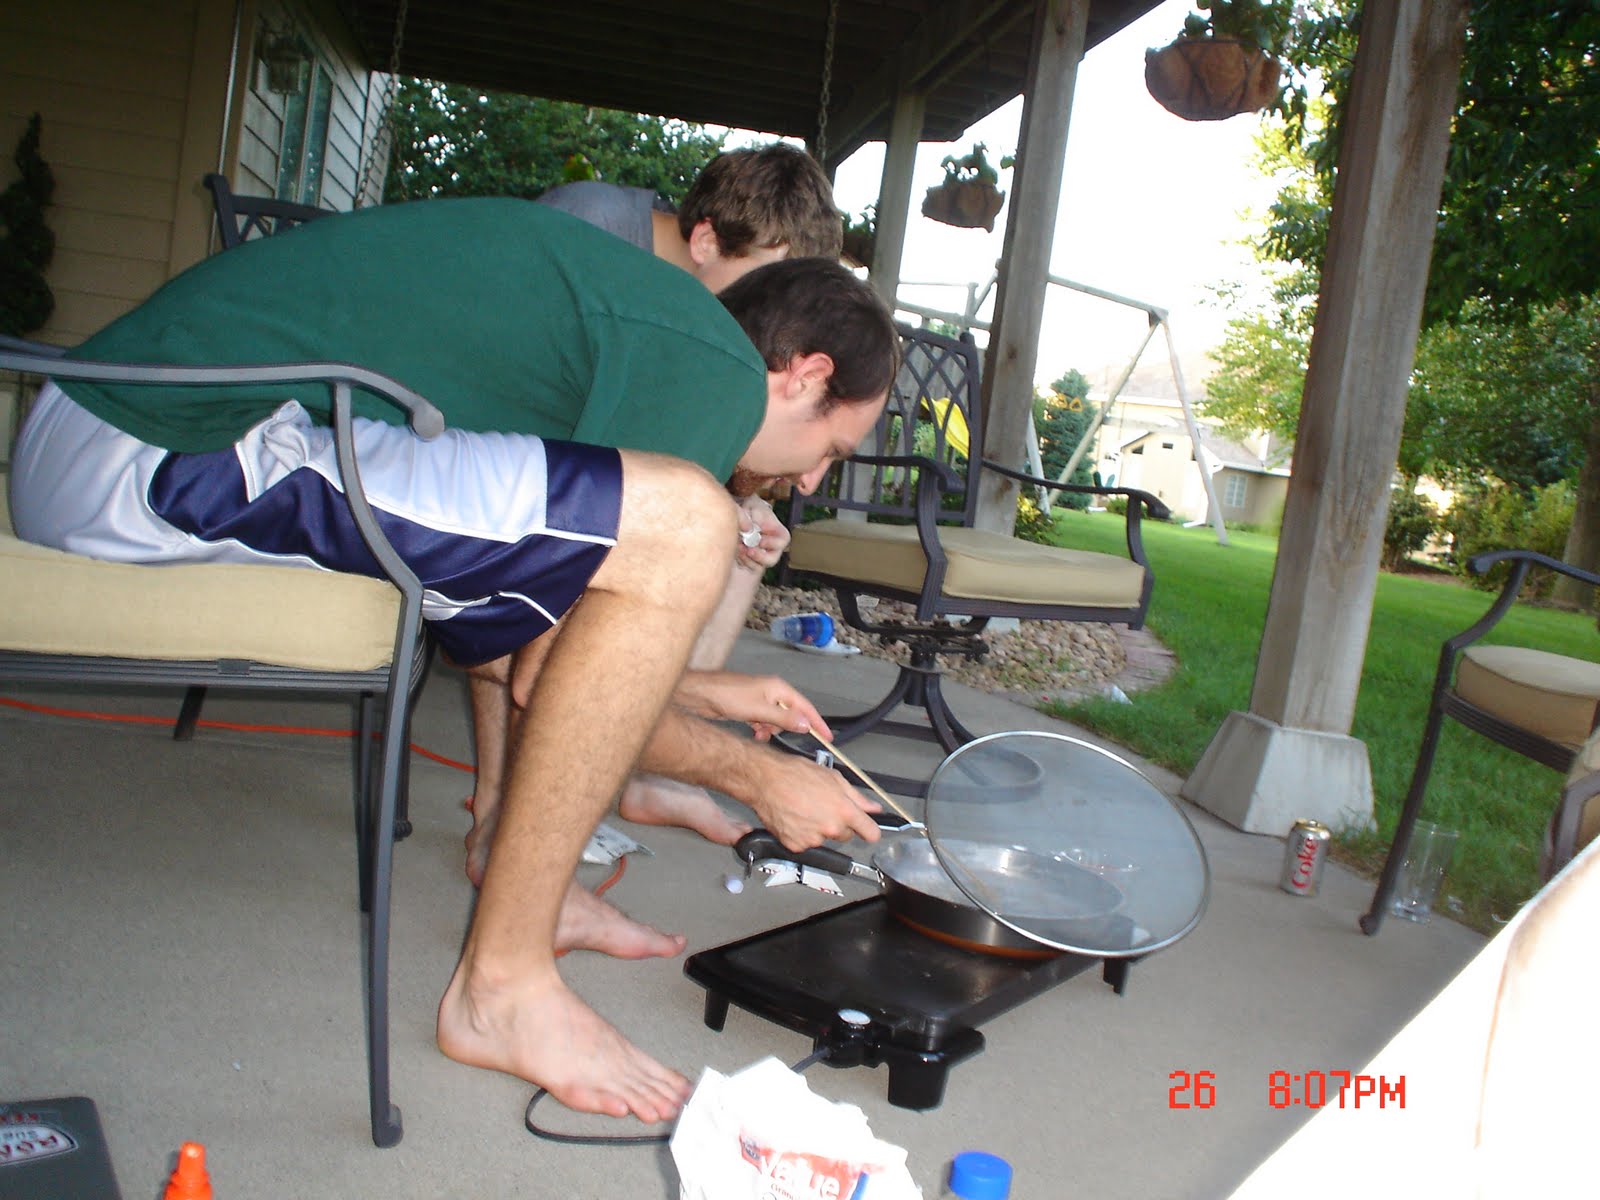
Note that we had to use the saucepan
because the skillet was not meant for watery use, it had drainage
channels and thus we had to come up with a "heat transfer device" it
was very inefficient, the batch took almost 2 hours!! and we used the
regular amount of ingredients shown on Jimmys skillet method page!!!
 |
| relax... |
 |
| Here I am stirring it anxiously |
 |
| While we waited, we finished our rockets, now were just waiting for the propellant to be done so we can fill the engines and launch |
 |
| Chris' rocket, nice fins on top! |
 |
| the engines done, epoxy seals them |
We did not stuff our grains into molds, but stuffed the engines strait from the pan, we were running out of daylight! When i was about to stuff the fuze in, i realized i had yet to drill the nozzle holes, I also forgot to drill holes in the propellant so i did it all in one fell swoop!! I drilled straight through the nozzle
and
into the propellant, i didnt really gauge how far into the propellant i
went, just far as long as the drill bit was, all in all I think it will
work out
 |
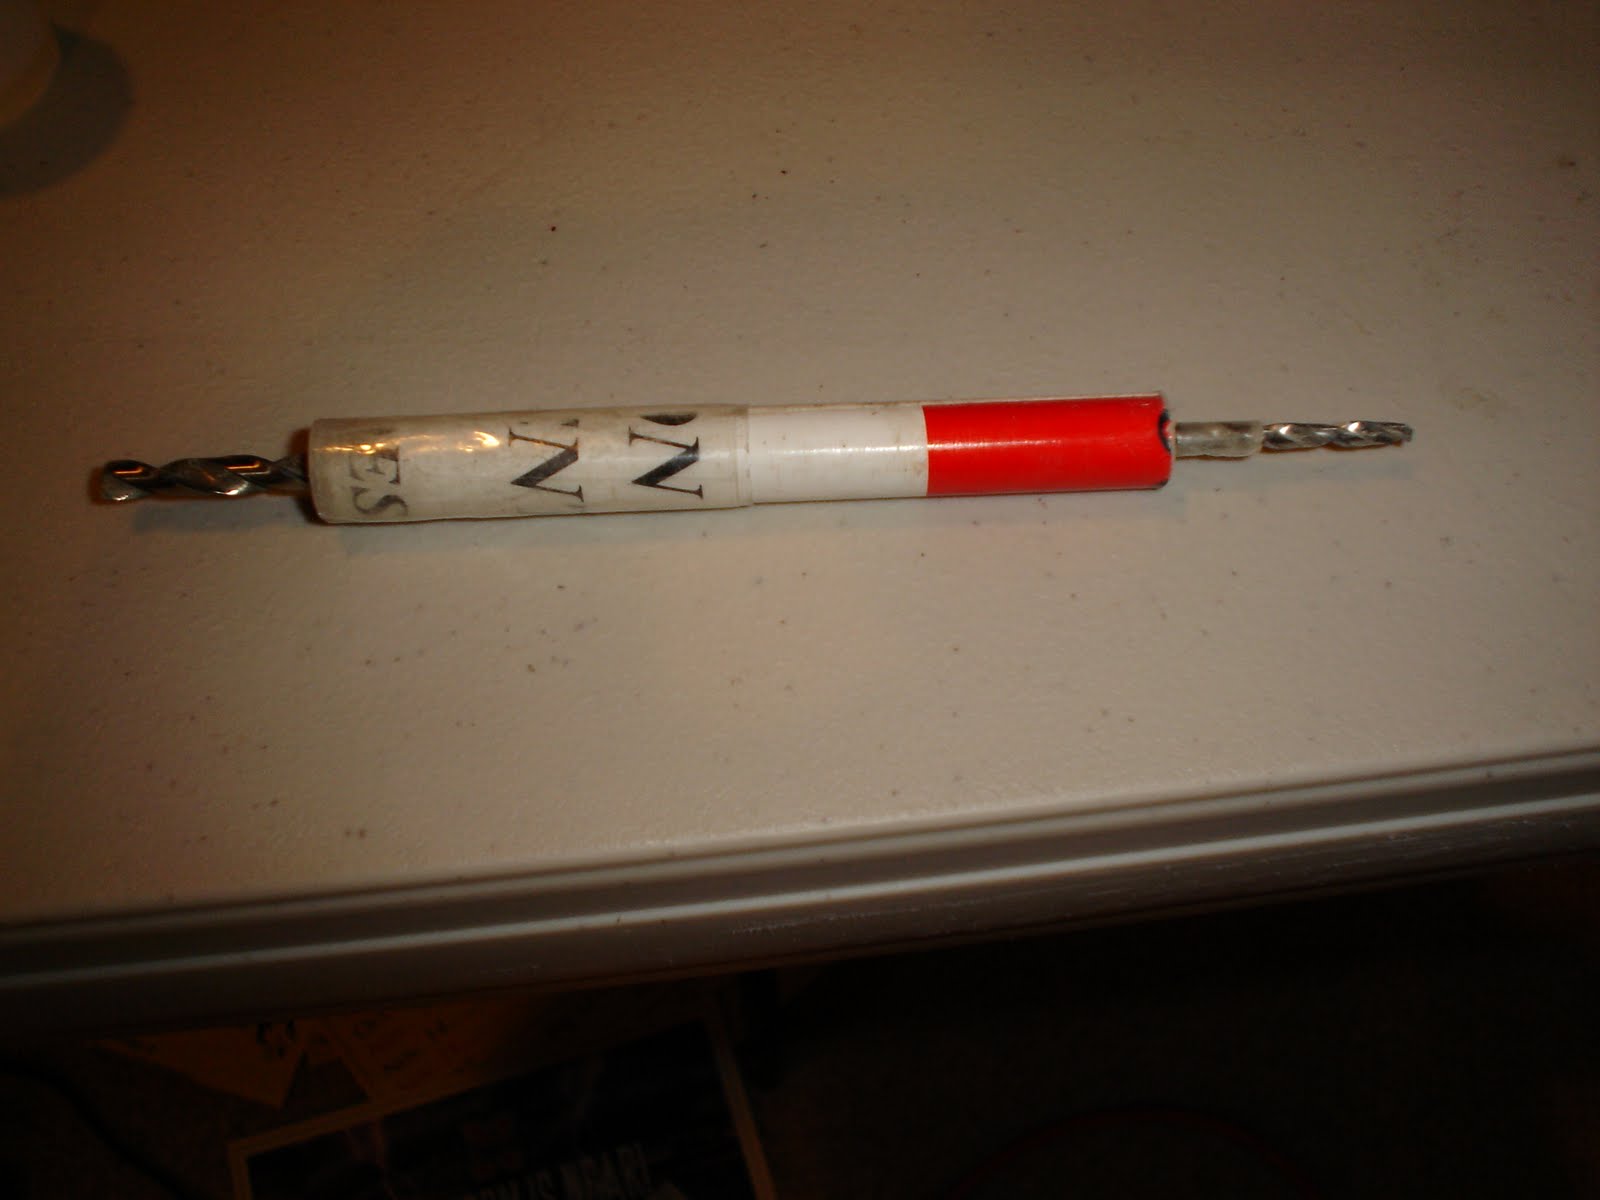
| the nozzle |
 |
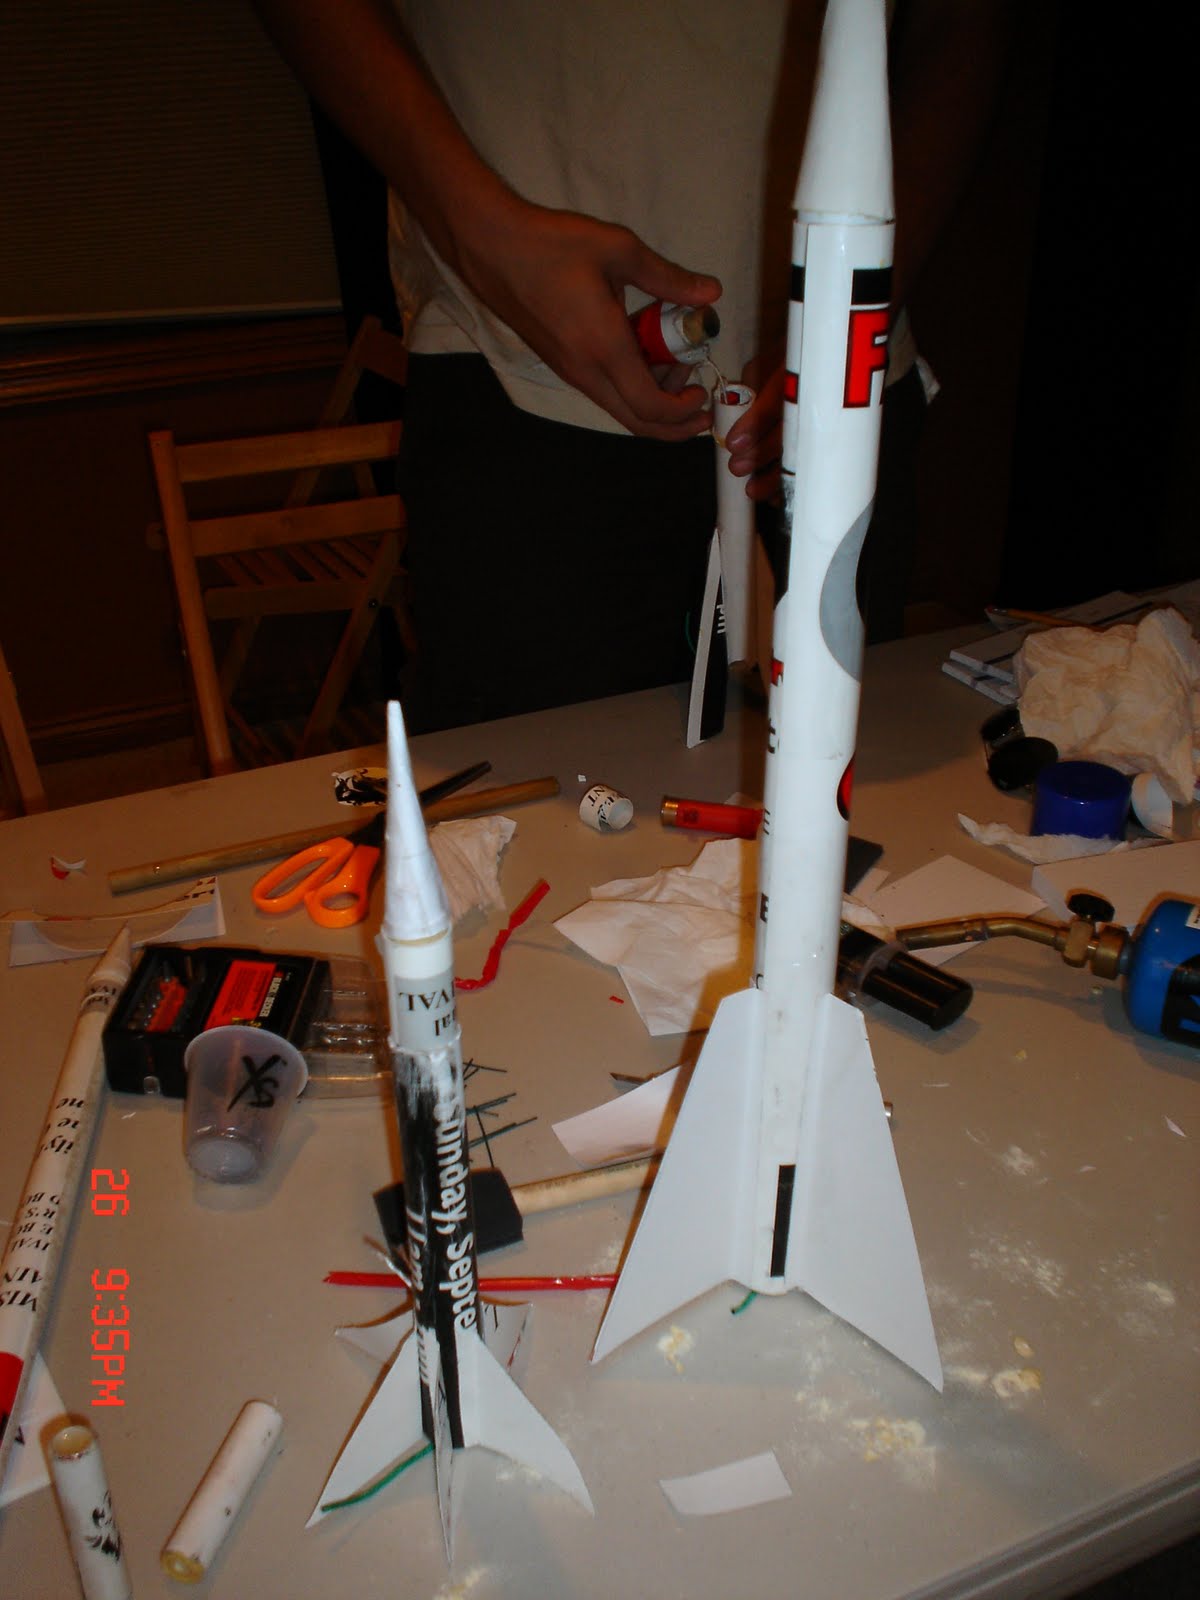
| By the way, we had to drill though ALL the engines! After inserting the fuze all the way in, we used foil tape to seal it I present to you the completed engine! |
 |
| .....inserted into the completed rocket body |
 |
| .....to present the finished rocket |
 |
| quite a mess in the background! But our rockets are done! and just in time, the sun had just set! Time to Launch! |
 |
| Checking for broken stuff |
 |
| Doug's 2 rockets |
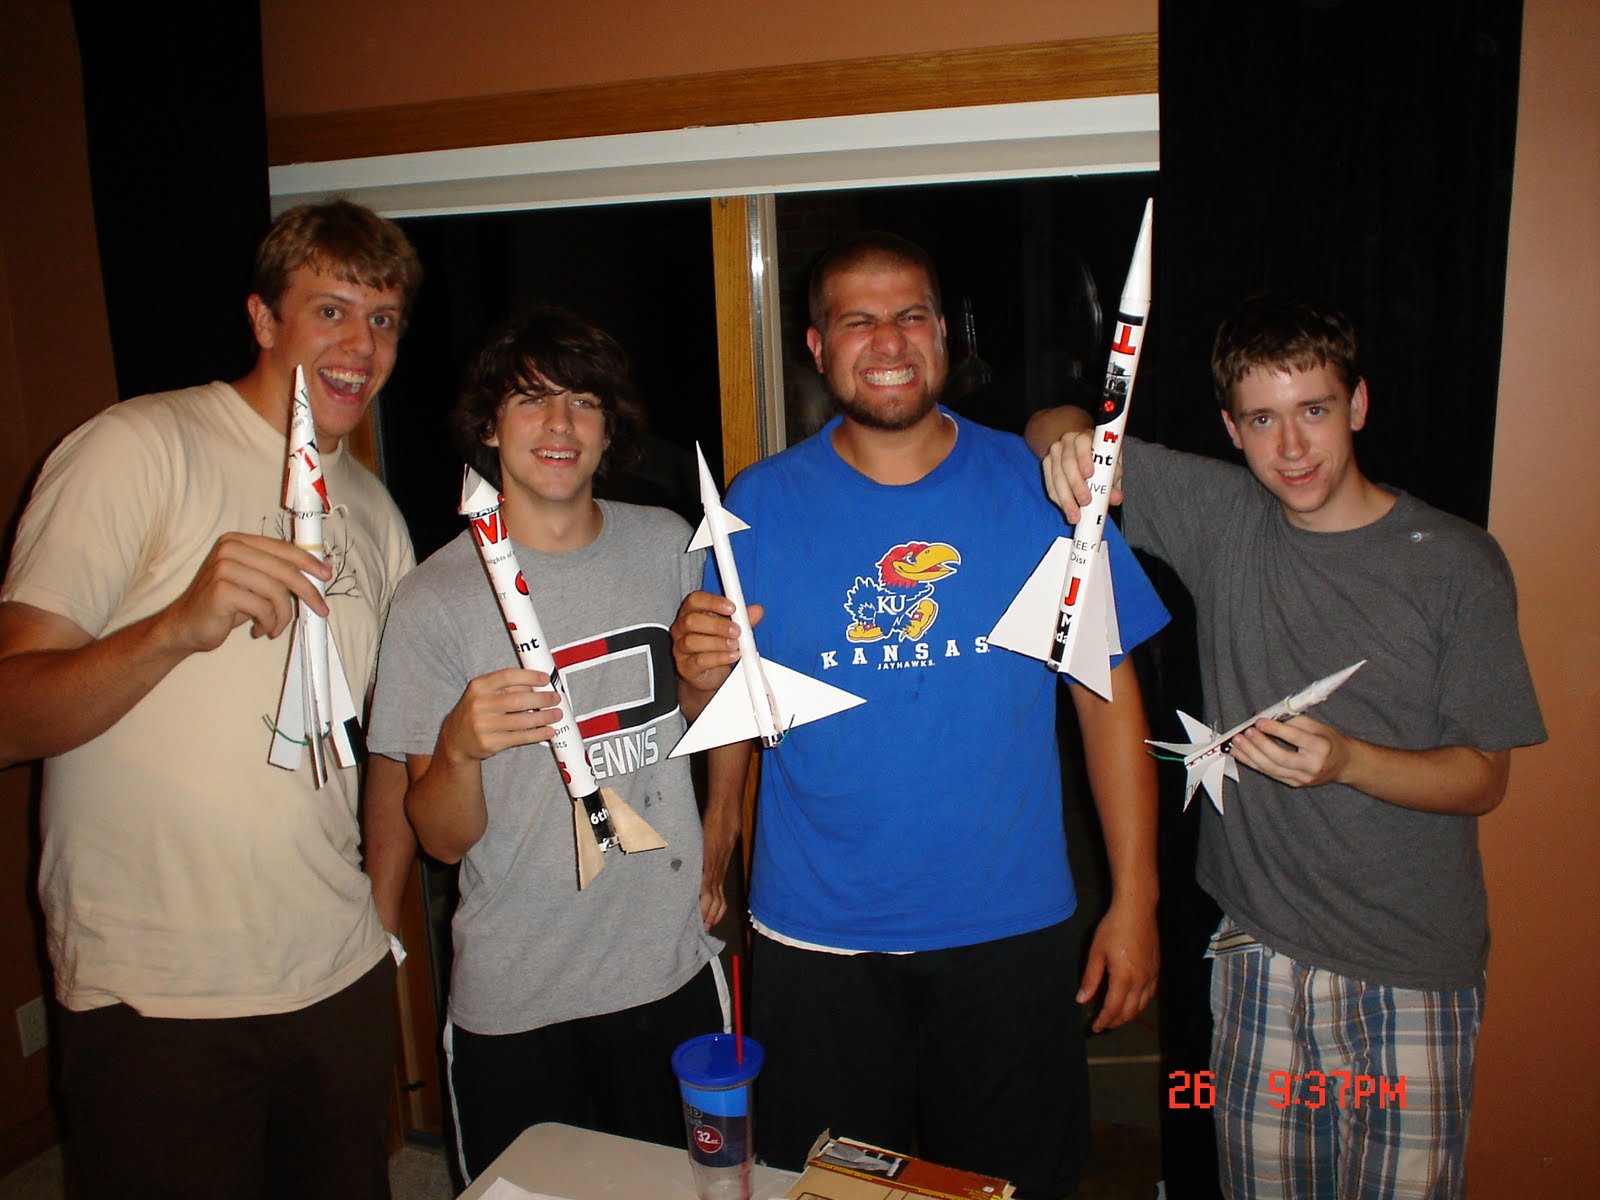 |
| All of the guys with their rockets ready to launch! |
Video of the parachute test, propellant test, and LAUNCHES!!!!
After
8 hours of work, about $10 of material, and a trip to Lowe's hardware,
we finally launched rockets out of 8 launches, only 2 were successful,
both Doug's! In the video, you can hear his rockets
going
in the air! They only went about 10 feet, and the second time it
seemed to explode. Upon further investigation, it seems as if the motor
retention failed, and the rocket motor blasted
through
the body of the rocket, pushing the parachute and nose cone out. you
can see the parachute on the ground in the video! Everyone else's
rocket simply sat on the ground and made smoke!!!! I cant really think
as to why they didn't work, although i have an idea as to why,,,,
remember when i had to drill the nozzle, well i also drilled the
propellant too,, not knowing how far in i had to go, i just let the
whole bit go, this may have been too short of a grain core, thus burning
through too fast and only end-burning the rest of the way, not
producing anywhere near enough thrust.
As to the fun we had,,, well there was no shortage of that!
An update on the rockets!
Despite our recent attempt to make rockets, we failed (epically) in the engine department, so i decided to try again, and try a little harder and according to the instructions this time*wink*wink
This time I made the nozzle out of real bentonite clay. Since I still cant find a direct supply of the stuff, I had to find a place where it was a key ingredient in! Such a thing as kitty litter!! ironically, the lowest quality stuff is the only kind that has pure clay product in it which I assume is pure bentonite clay!!
The only problem with kitty litter is that it comes in chunks too big to ram into nozzles, so i put a handful in a blender and waited till it was a fine mesh powder. using this clay I formed nozzles correctly and drilled them to both the normal configuration and Bates grain configuration. As for the nozzle drill, instead of making 2 drills, i just put the smaller bit in the other side!
As per the instructions, I got a REAL (small) electric skillet and cooked another (10min) small batch, just enough for 4 motors, 3 filled and one slug for testing
According to directions, the proper way to fill the engines is to pre-shape the propellant in a mold, core the grain and let it cool. Then I put the grains in the motor, add aluminum foil to seal the grain from the nozzle and epoxy the smoke grain to inhibit it properly, which may have caused it to fail in the previous try.
The nose cone of my rocket also is finished the correct way with a wooden insert to aid in parachute ejection


So with the propellant I made 2 regular motors and 1 bates grain motor!
As for the flights, only 1 engine failed to light! The other 2 worked flawlessly, except for the fact that the parachute failed to open and had 2 lawn darts! Unfortunately i was too excited to take any photos or videos, but the second time around, both configurations worked flawlessly, Both had enough thrust to get at least 500 feet and both had solid smoke trails, although both failed to eject parachutes!